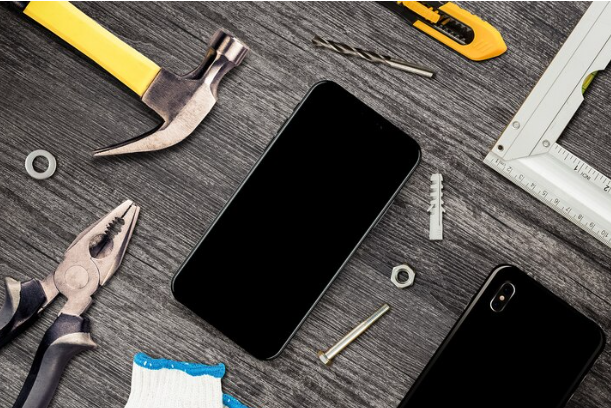
Repairing your iPhone can be a rewarding and cost-effective way to address common issues and extend the lifespan of your device. However, to ensure successful repairs, it’s essential to have the right tools at your disposal. In this comprehensive guide, we’ll explore the essential tools you’ll need for iPhone repair success, covering everything from basic tools for minor repairs to specialized equipment for more complex fixes.
1. Screwdriver Set:
A high-quality screwdriver set is a must-have for iPhone repairs, as most repairs involve removing and reinstalling tiny screws.
Look for a precision screwdriver set with interchangeable bits, including Phillips, Pentalobe, and Tri-point screwdrivers, to accommodate various screw types found in different iPhone models.
2. Spudger:
A spudger is a versatile tool that’s indispensable for safely prying open the iPhone’s casing and disconnecting delicate cables and connectors.
Opt for a plastic spudger with a flat, non-metallic edge to prevent scratching or damaging the iPhone’s internal components during disassembly.
3. Tweezers:
Tweezers are essential for handling small components and delicate cables during iPhone repairs.
Choose a pair of fine-pointed, anti-static tweezers to grip and maneuver tiny screws, connectors, and other components with precision and ease.
4. Suction Cup:
A suction cup is a handy tool for safely removing the iPhone’s display assembly without damaging the delicate cables and connectors underneath.
Look for a suction cup with a strong grip and a built-in handle for easy application and removal of the display assembly.
5. Opening Picks:
Opening picks, also known as guitar picks, are thin and flexible tools used to gently pry apart the adhesive and separate the iPhone’s display assembly from the frame.
Choose a set of opening picks with varying thicknesses to accommodate different adhesive strengths and minimize the risk of damaging the display or frame during disassembly.
6. Heat Gun or Hair Dryer:
For repairs involving adhesive components such as the display assembly or battery, a heat gun or hair dryer can be used to soften the adhesive and make it easier to remove.
Use caution when applying heat to avoid overheating sensitive components and causing damage to the iPhone.
7. Adhesive Strips or Adhesive Remover:
Adhesive strips or adhesive remover are essential for securely reattaching components such as the display assembly or battery after repairs.
Opt for pre-cut adhesive strips or adhesive remover solution specifically designed for iPhone repairs to ensure proper adhesion and a secure fit.
8. Magnifying Lamp or Microscope:
For detailed and intricate repairs, such as soldering or micro-soldering components on the iPhone’s logic board, a magnifying lamp or microscope can be invaluable for better visibility and precision.
Choose a magnifying lamp with adjustable magnification and a built-in light source for optimal viewing and precision during intricate repairs.
Conclusion:
Having the right tools is crucial for successful iPhone repairs, whether you’re replacing a cracked screen, upgrading the battery, or fixing a faulty component. By investing in high-quality tools and following proper repair techniques, you can confidently tackle common iPhone issues and extend the lifespan of your device without the need for professional assistance. Remember to exercise caution, follow repair guides meticulously, and handle delicate components with care to ensure successful iPhone repair outcomes and enjoy a fully functional device for years to come.


